How to Make Your Own Facial Cleanser at Home

Recently, there's been a trend towards everything natural in beauty and skincare, providing safe, chemical-free alternatives that prevent skin diseases and reduce the risk of skin cancer.
عرض النقاط الرئيسية
- There's a growing trend towards using natural skincare products due to the risks posed by chemicals, which can cause skin diseases and skin cancer.
- The main issue with commercial organic products is their higher prices compared to chemical counterparts.
- You can make a homemade facial cleanser with simple, natural ingredients suitable for different skin types like dry, oily, combination, and sensitive.
-
- Using a natural daily cleanser keeps skin healthy and reduces issues like acne, dryness, and inflammation.
- Basic skincare habits include cleansing with lukewarm water, using a clean towel, and avoiding harsh scrubbing.
- Removing makeup before washing your face is essential to prevent clogged pores and skin irritation.
- Relying solely on wet wipes isn't enough for facial cleansing; washing with water is necessary to maintain cleanliness.
Many products have emerged in the market made entirely from natural ingredients like body soap, skin and face creams, and masks that are completely safe for the skin. However, the issue lies in their exorbitant prices. When you hear terms like "organic," "100% natural," or "completely free of chemicals and artificial preservatives," you immediately know that the sticker price will be shocking.
Using natural products will significantly impact your health and quality of life, which is why we've provided some recipes that let you create your own products at home safely and economically. In this article, we'll cover facial cleansers, which are a daily essential. Follow along to learn how to prepare them at home according to your skin type.
قراءة مقترحة
1- Preparing Homemade Facial Cleanser for Dry Skin
Ingredients:
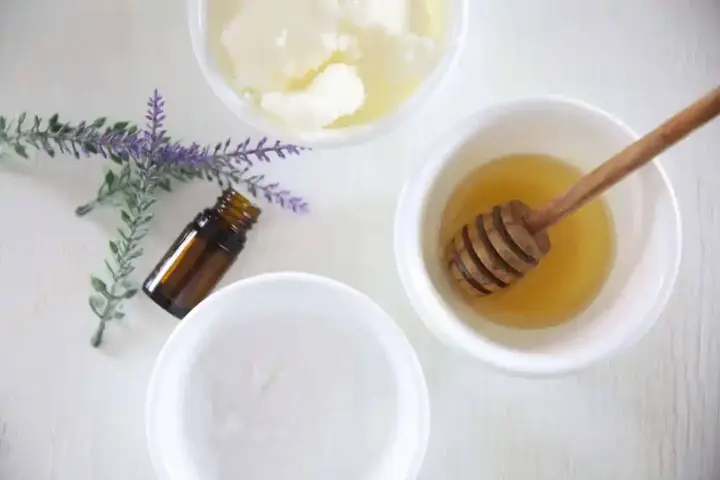
2 tablespoons of yogurt
1 teaspoon of honey (preferably organic)
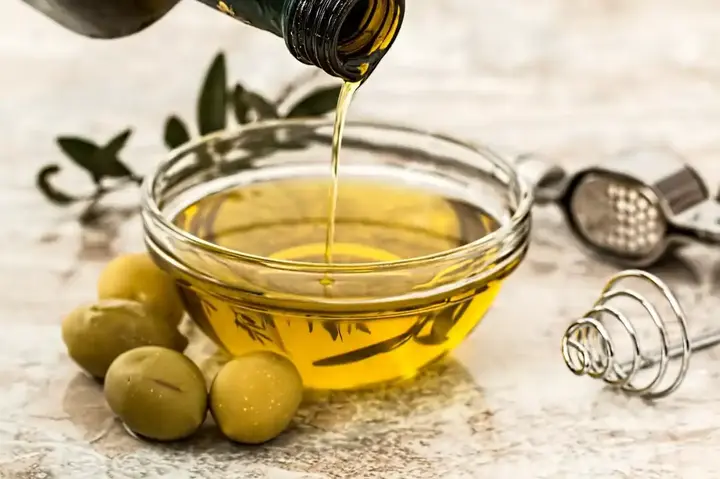
1 teaspoon of olive oil
Method:
Mix the ingredients and apply them to the entire face. Leave it on for one to two minutes, then wash off with cold water. You can use the cleanser regularly. Afterward, you can apply toner and face moisturizer.
2- Preparing Homemade Facial Cleanser for Oily Skin
Ingredients:
1 teaspoon of honey
2 tablespoons of raw milk (unpasteurized)
Method:
Mix the ingredients to create a smooth lotion. Apply evenly over your skin and gently massage in circular motions for two to three minutes. Rinse the mixture off with warm water.
If you have oily skin, it attracts dirt, leading to acne and unwanted blemishes. This recipe will remove excess oils and brighten your complexion. Regular use will reduce the appearance of acne and blemishes.
3- Preparing Homemade Cleanser for Combination Skin

Chickpea flour
Yogurt / Milk (as available)
Method:
Mix the ingredients and apply them evenly over your face, massaging gently in circular motions, then leave the mixture on for 15 minutes until it dries. Rinse off with cold water.
Another Cleanser:
Ingredients:
2 tablespoons of tomato pulp (obtained by mashing tomatoes and straining seeds and peels with some water)
1 teaspoon of milk
1 teaspoon of lemon juice
Method:
Mix the ingredients and apply them evenly over your face. Leave the mixture on your face for 10 minutes, then rinse off with cold water.
4- Homemade Facial Cleanser for Sensitive Skin
If you have sensitive skin, this cleanser is perfect for you, and you can prepare a liter bottle and store it in the fridge for daily use. The cleanser is ideal for reducing under-eye puffiness and is suitable for any skin type.
Ingredients:
Water (two-thirds of the bottle volume)
Rose petals
Half a cup of rose water (one-third of the bottle volume)
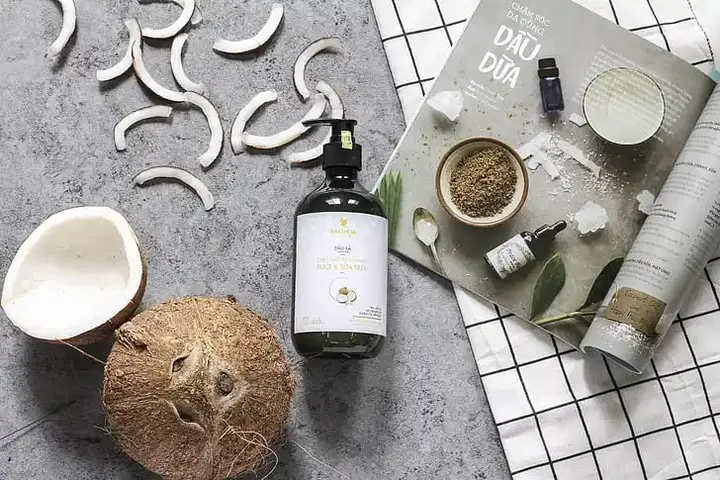
A small cup of almond oil or coconut oil
Method:
Soak the rose petals in water for an hour, then add rose water. Afterwards, add almond or coconut oil. Mix well and apply using a cotton pad (like a facial wipe).
5- General Skincare Tips to Make Your Homemade Cleanser Effective

● Keep your face towel clean and change it regularly.
● Use lukewarm water, not hot or cold, to wash your face throughout the day.
● When drying your face with a towel, do not rub it harshly to avoid stripping natural oils that protect your skin and reduce inflammation. Vigorous rubbing can also cause wrinkles and sagging.
● Remove makeup before washing your face.
● Avoid using ordinary soap on your face as it can dry out your skin, accelerating skin aging.
● When working at home or returning from outside, wash your hands thoroughly before washing your face to prevent transferring dirt and particles from your hands to your face, which increases the chances of pimples and inflammation.
● Don't over-wash your face to retain natural oils, especially in winter when our skin tends to be drier.
● Wet wipes aren't sufficient for cleaning the face; you should wash your face with water as well.
Recently, there's been a trend towards everything natural in beauty and skincare, providing safe, chemical-free alternatives. Using natural products will significantly impact your health and quality of life, which is why we've provided some recipes to help you create your products at home safely and economically. Follow along to learn how to prepare them at home according to your skin type.